DIY Android Auto Infotainment Screen
Goal and motivation
My father had two old netbooks with barely enough RAM and storage to be useful (and which could absolutely not run modern Window.)
We thought about upcycling them, install a modern linux distribution, and giving them to someone who could use a small and not very powerful computer.
But then we had another idea, see, my parents have two cars:
A beautiful 2020 Hybrid Toyota Corolla Break in a colour my parents insist is ebene which is a woody dark brown;
don’t tell them but it looks black from afar. With a decent Android Auto experience, and overall is a pleasure to ride, I am sure it is a pleasure to drive too, but I don’t drive and even if I did I am not sure my dad would trust me with this car.An old red Fiat Panda. Which to be fair is fairly fun when the person who is driving it has confidence in their skills.
Well, the Corolla is mostly used by my mum, for reasons she prefers the automatic transmission (we live in France, most of our cars are still using manual transmissions).
The Panda does not have any infotainment – being old and all – and my dad sometimes uses it to go pick mushrooms (a important hobby of his, he blogs his mushroom adventures on his mastodon profile (in french) – as well as saying a “good morning” every morning.)
So a thought came to us in a discussion on a morning.
Why not turn one of the computers into an infotainment system for the Panda?
Ingredients
For this recipe you will need:
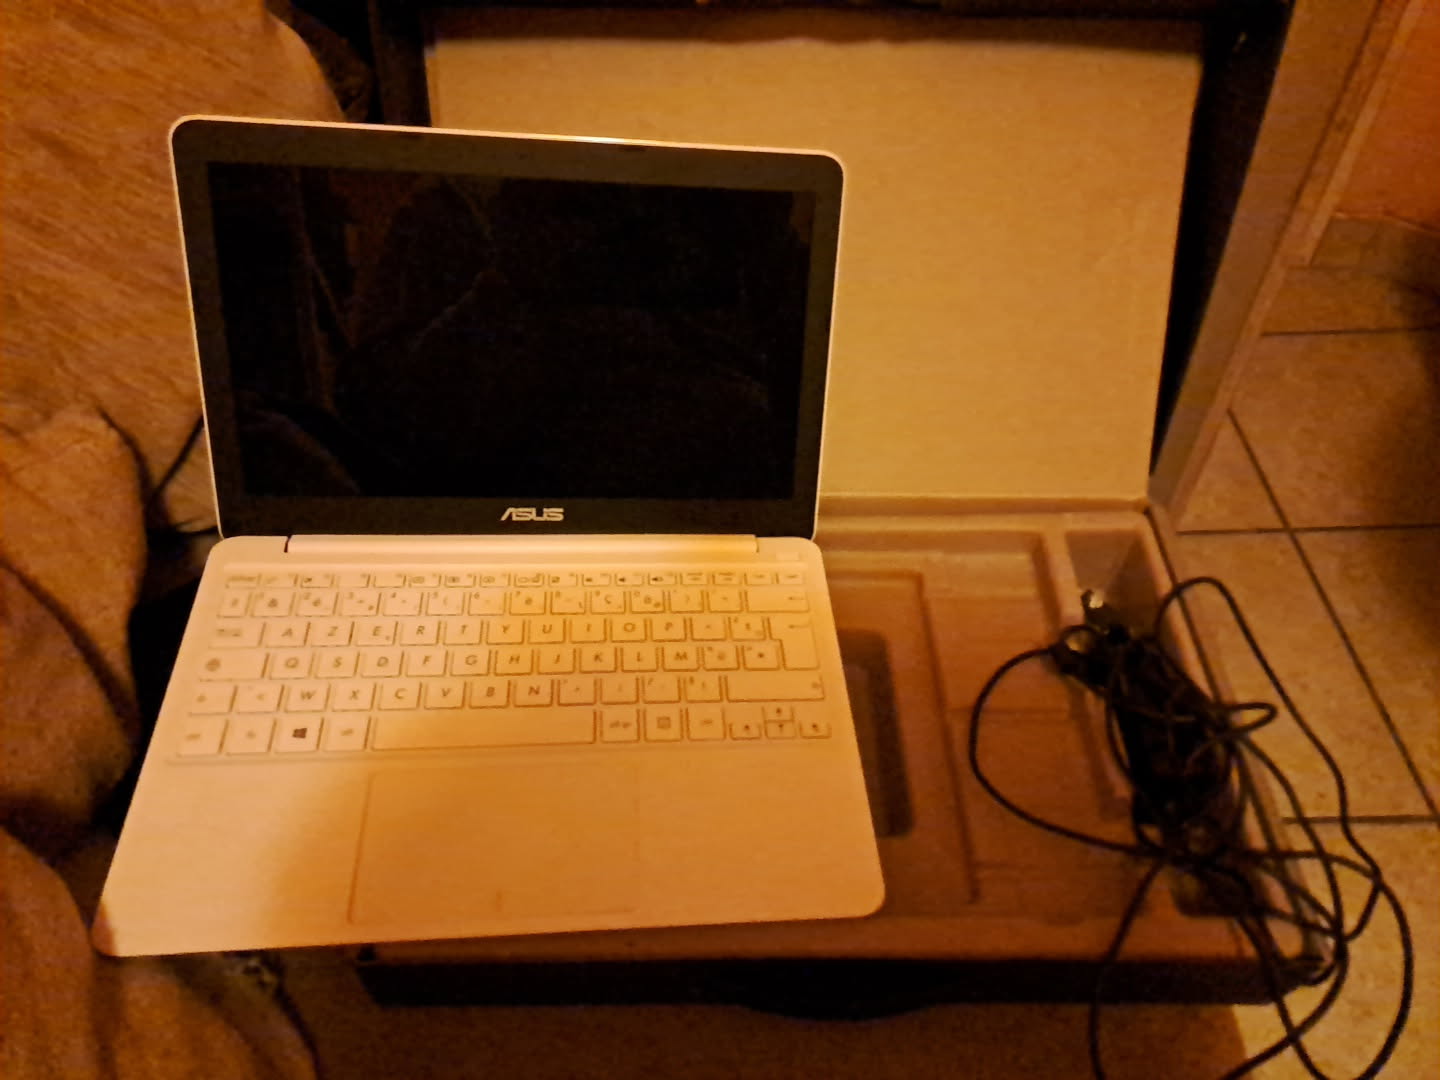
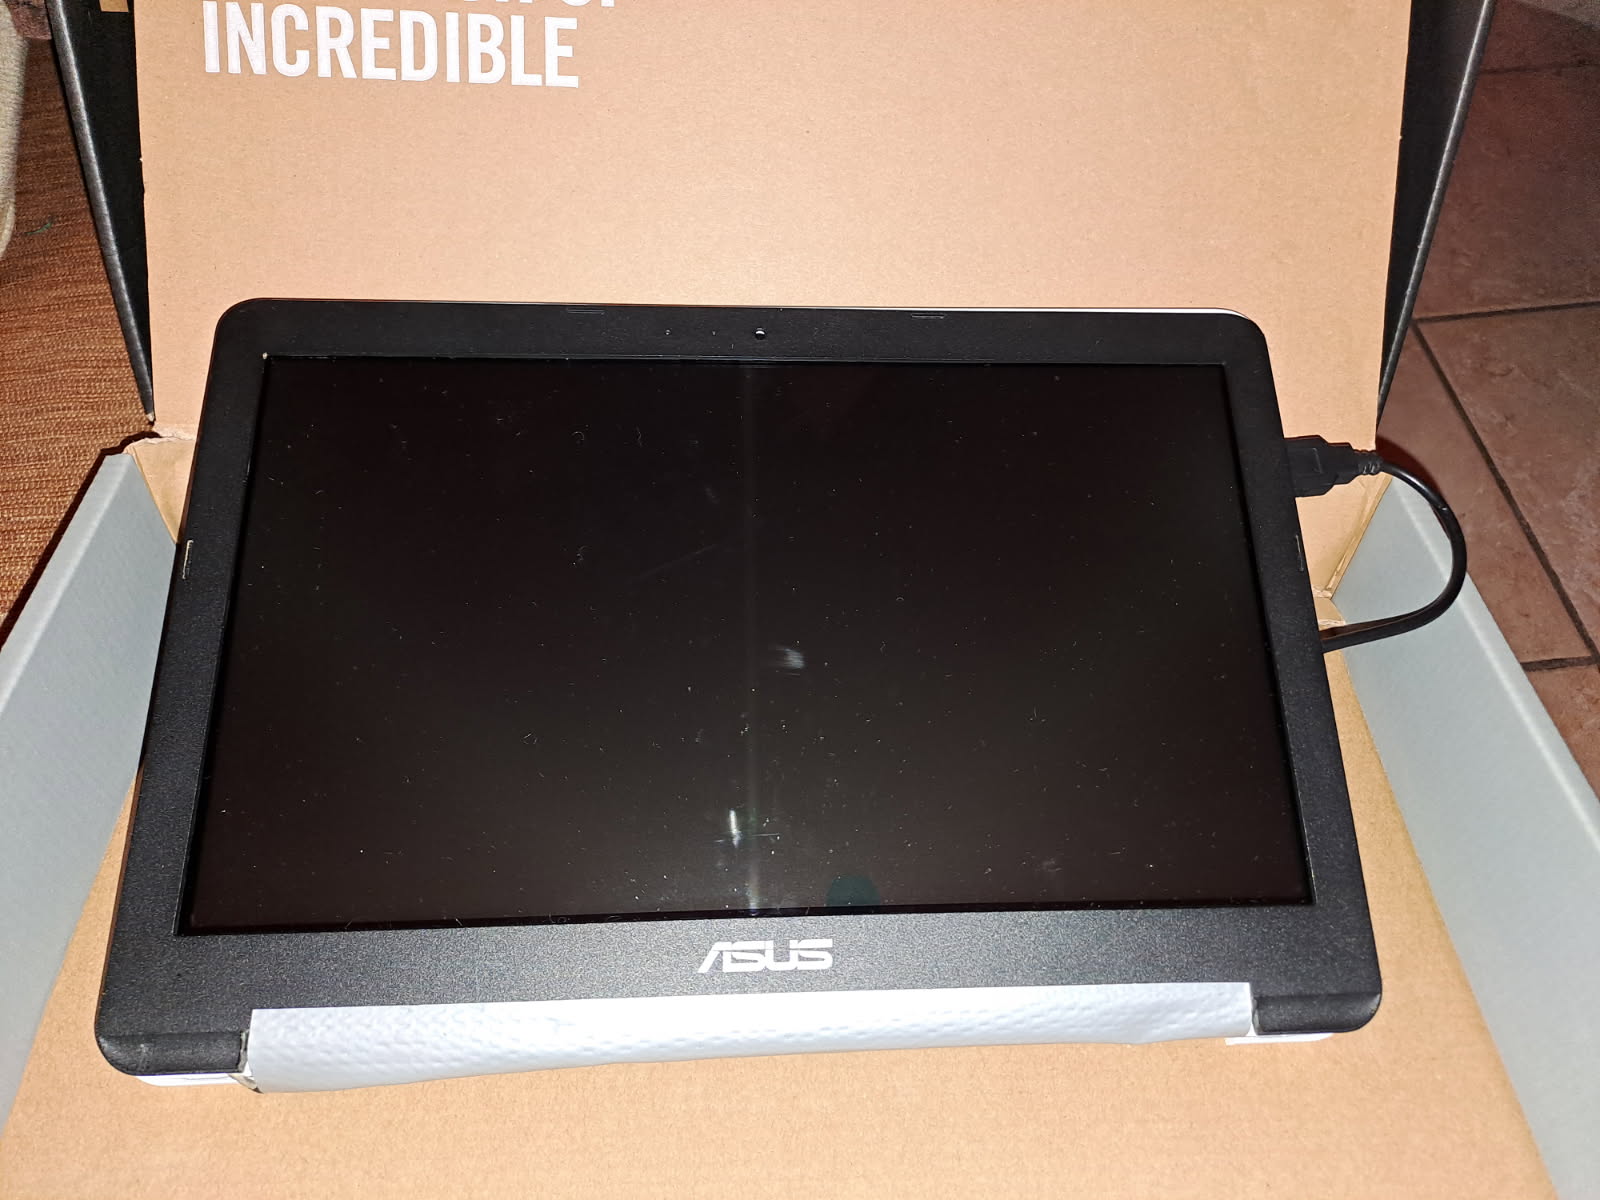
- Any old netbook (here is an old laptop with an 11“ screen, 2 GB of RAM, and 32 GB of RAM, an Asus X205TA)
- A compatible touch-screen for the laptop (this one on ebay)
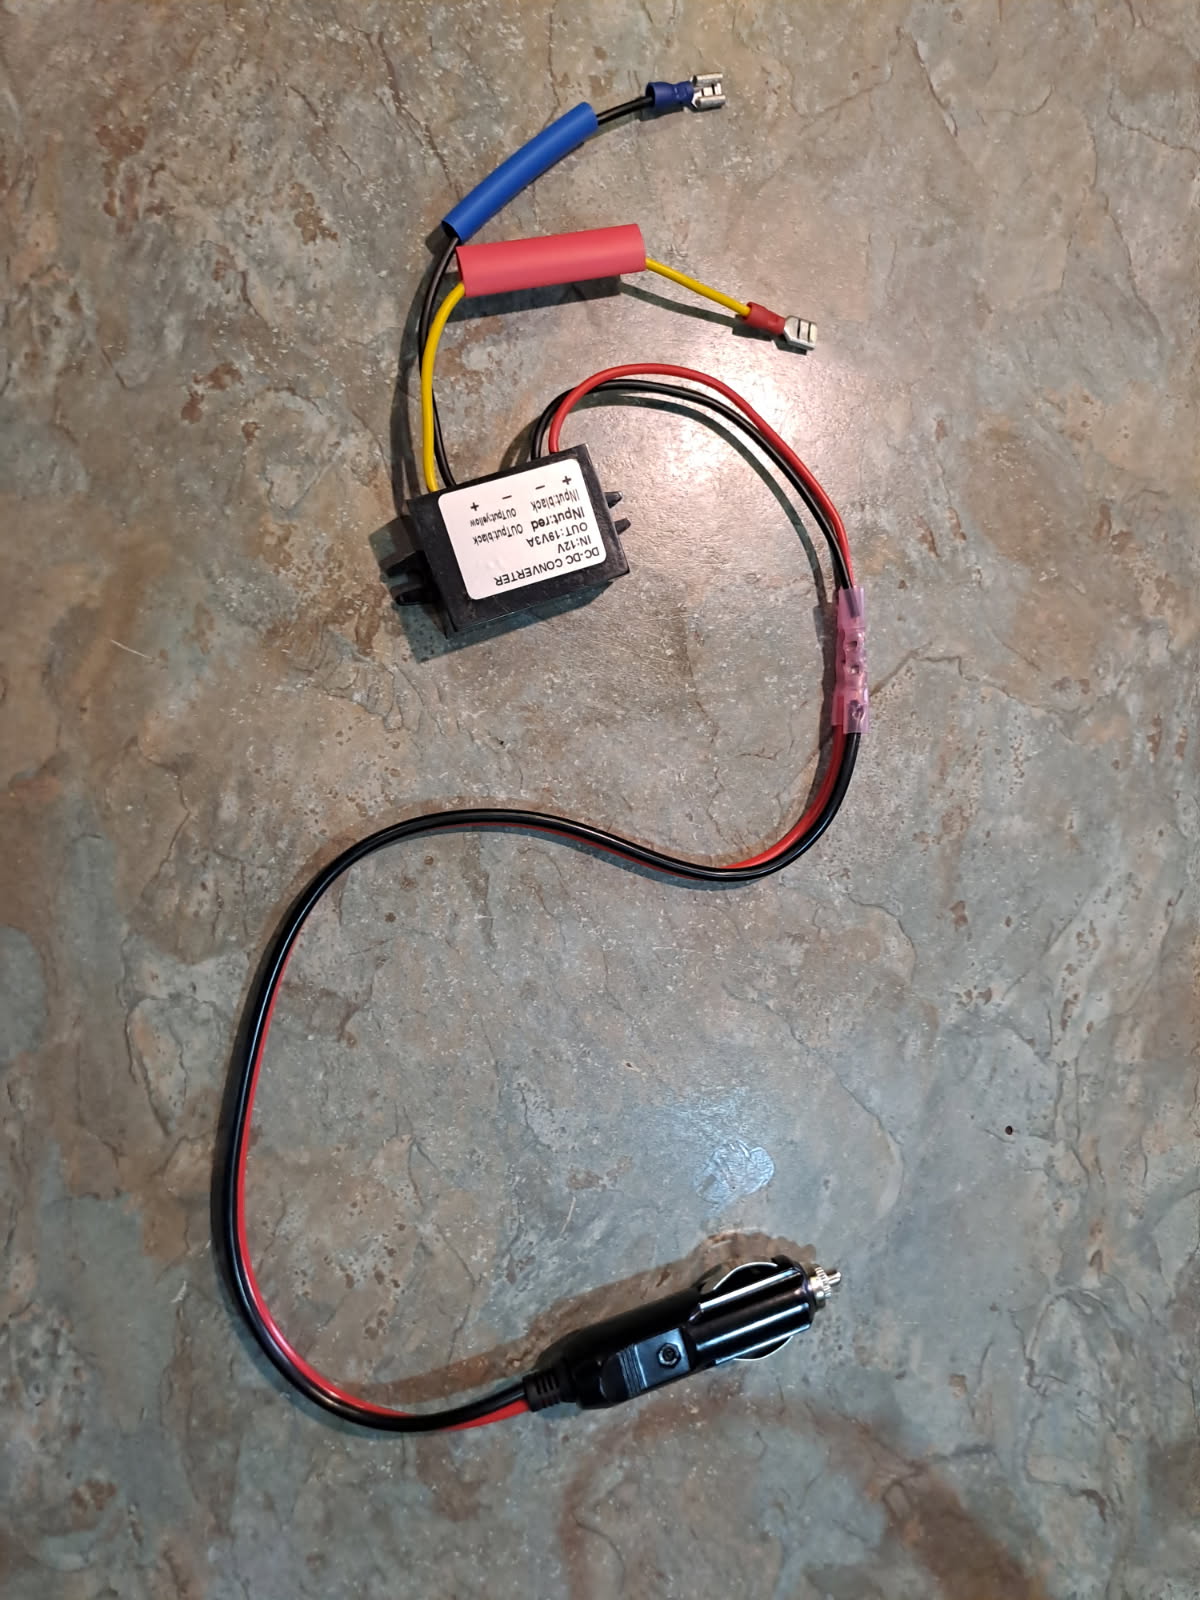
- A way of drawing power from the car to the laptop
Photos
Laptop
Power
Step 1: OS
We obviously decided to install a linux distro on the netbook.
First, the computer was running a really old version of Window – 8.1 if I remember correctly – and of course with its 2 GB of RAM and 32 GB of eMMC it wasn’t going to run Window 10, or worse Windows 11.
After some considerations, particularly about the bluetooth/wifi card, we decided to wing it and install Debian 12 vanilla on it.
–
And it worked like a charm!
Except for the Wifi
Fortunately we found a tutorial for this particular machine, the Asus X205TA, and sure enough we were successful in making wifi work.
Now we needed to modify the hardware!
Step 2: Hardware modifications
Hardware was exclusively done by my dad, I am not at all good with hardware. I know how to build a server/computer. And that’s it.
So I’ll not go into details here.
Fortunately this step is actually pretty easy you only need to perform a couple steps
- Remove the closing-detection magnet.
- Install the touchscreen.
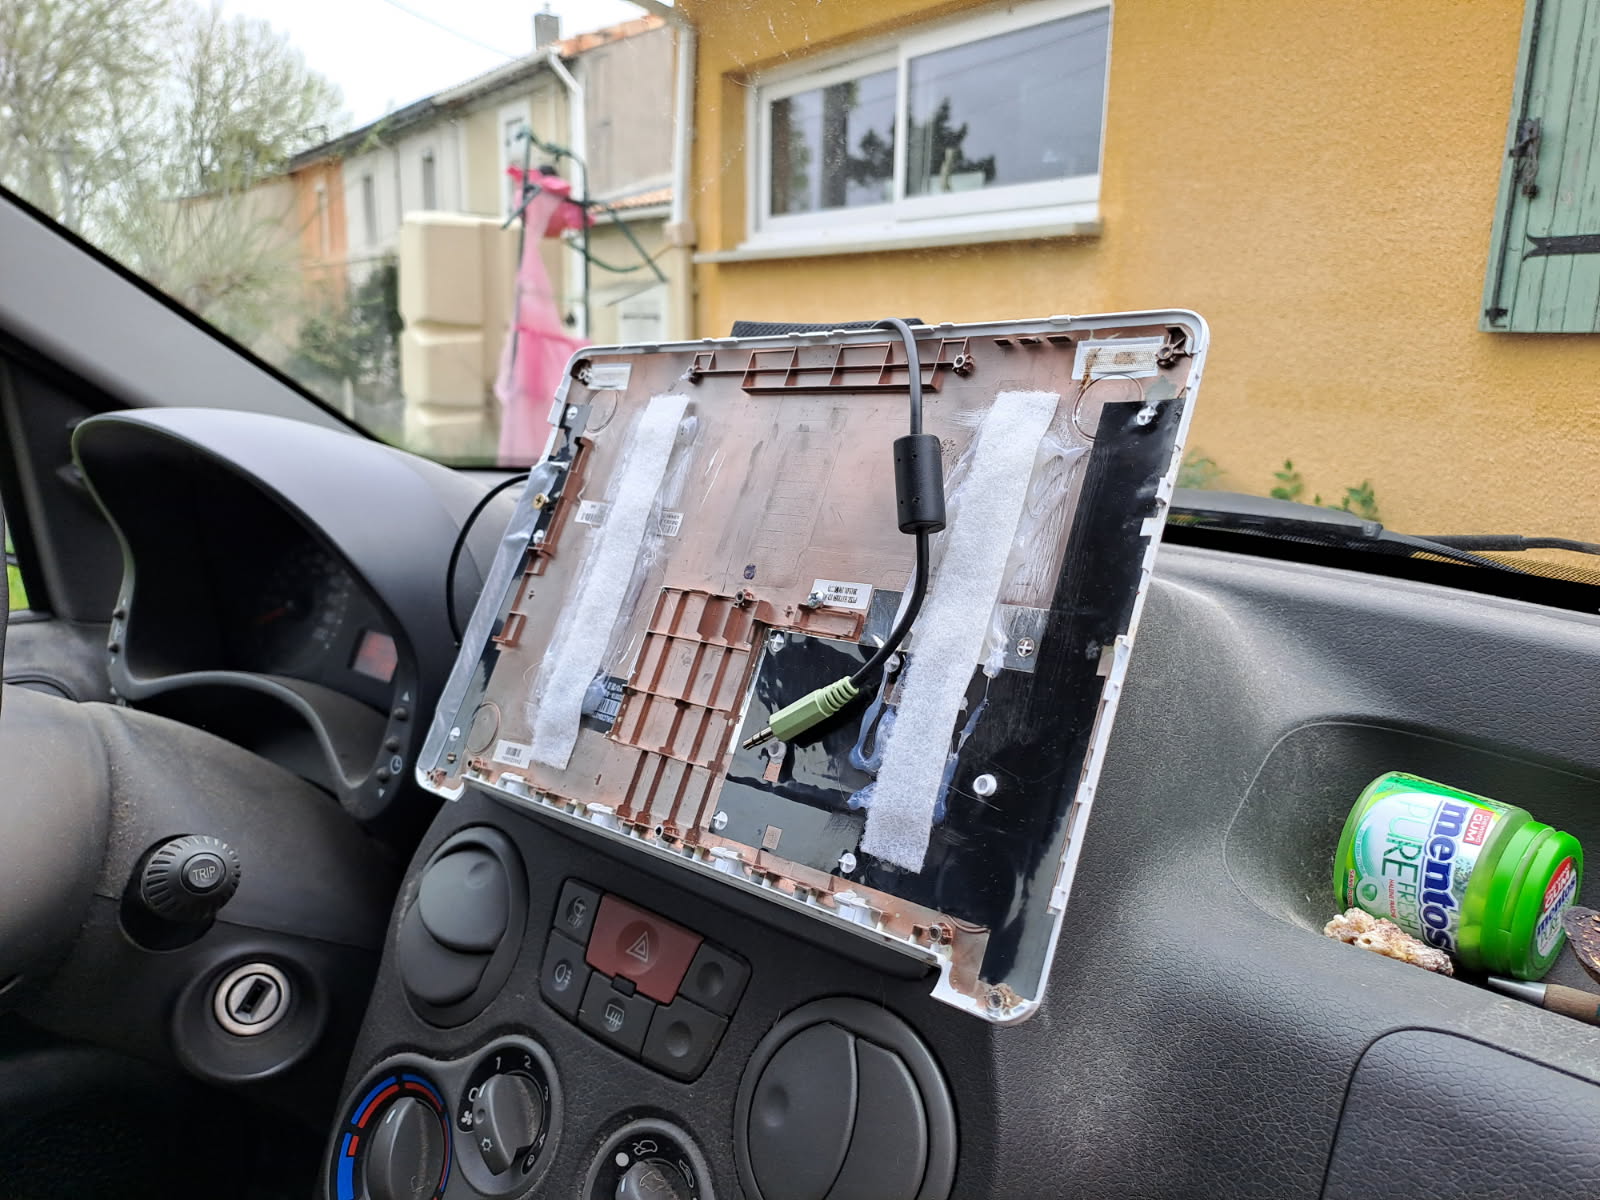
Computer Disassembled
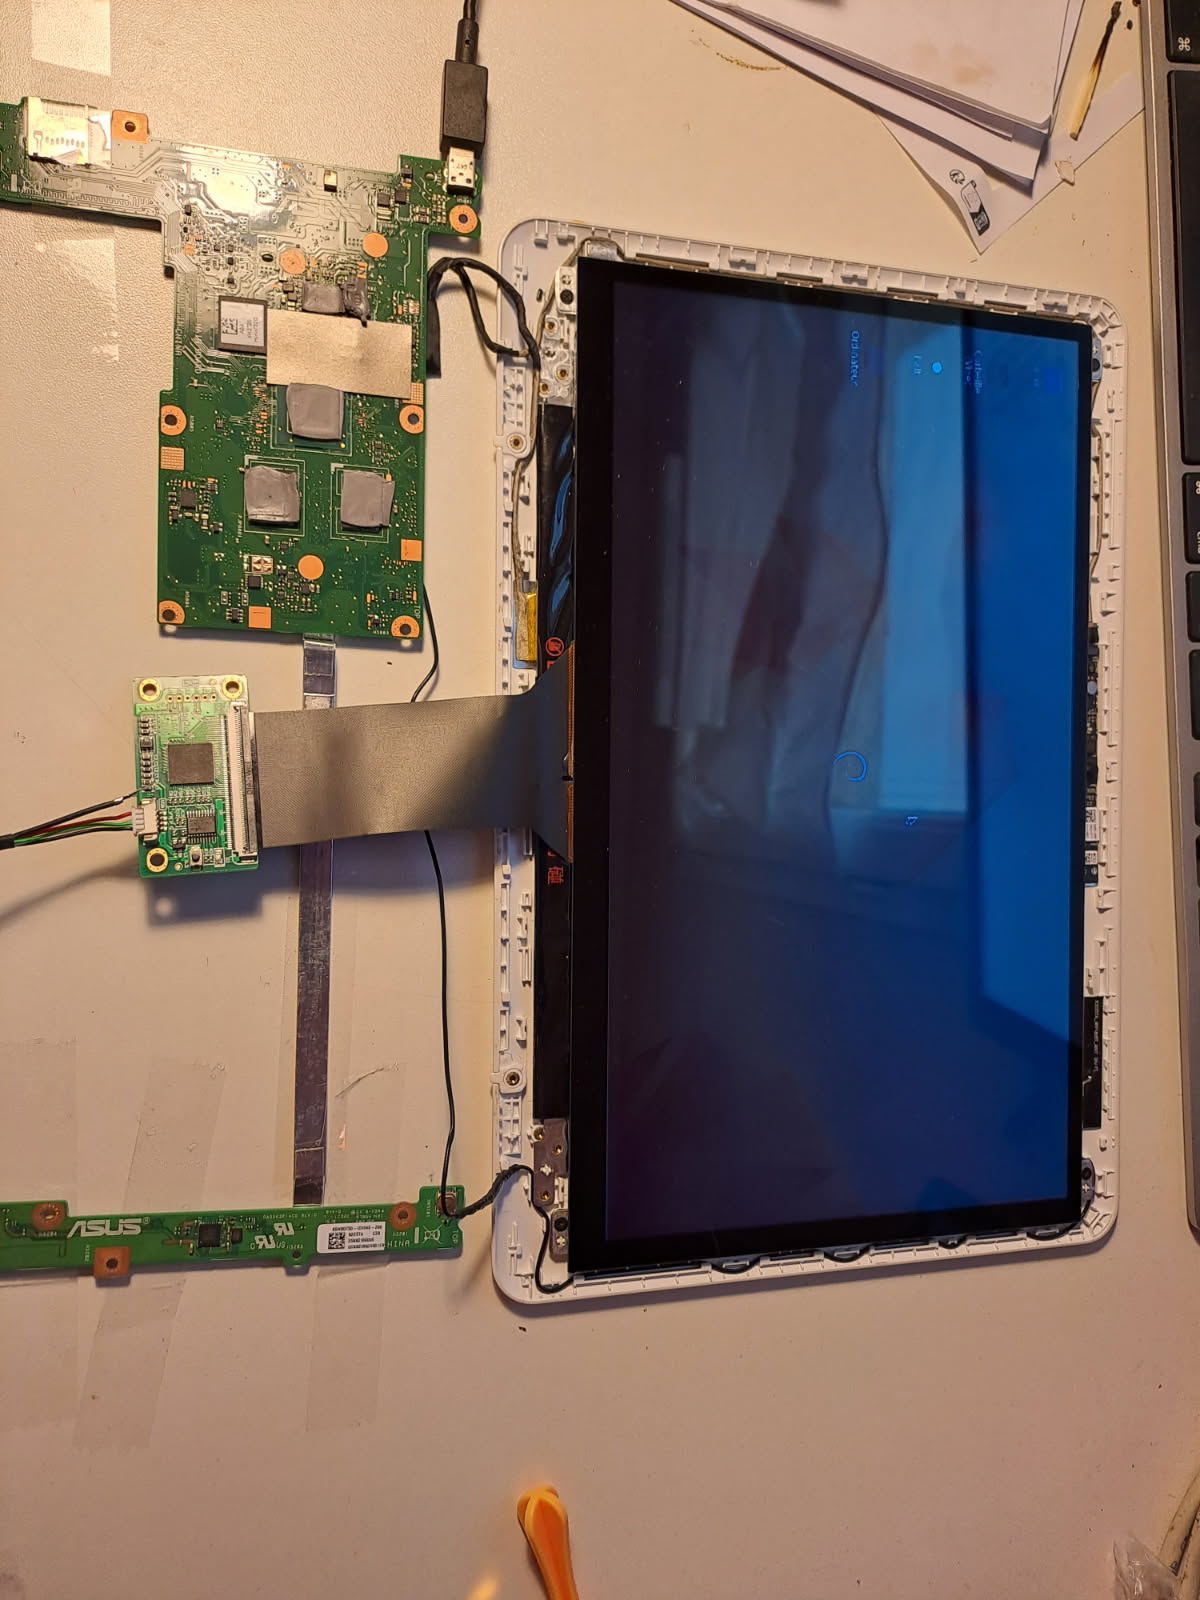
This is the computer fully disassembled. The keyboard is off-screen.
Keyboard cable

This is what the keyboard ribbon cable looks like. We decided to keep the keyboard connected, just completely folded.
Computer folded
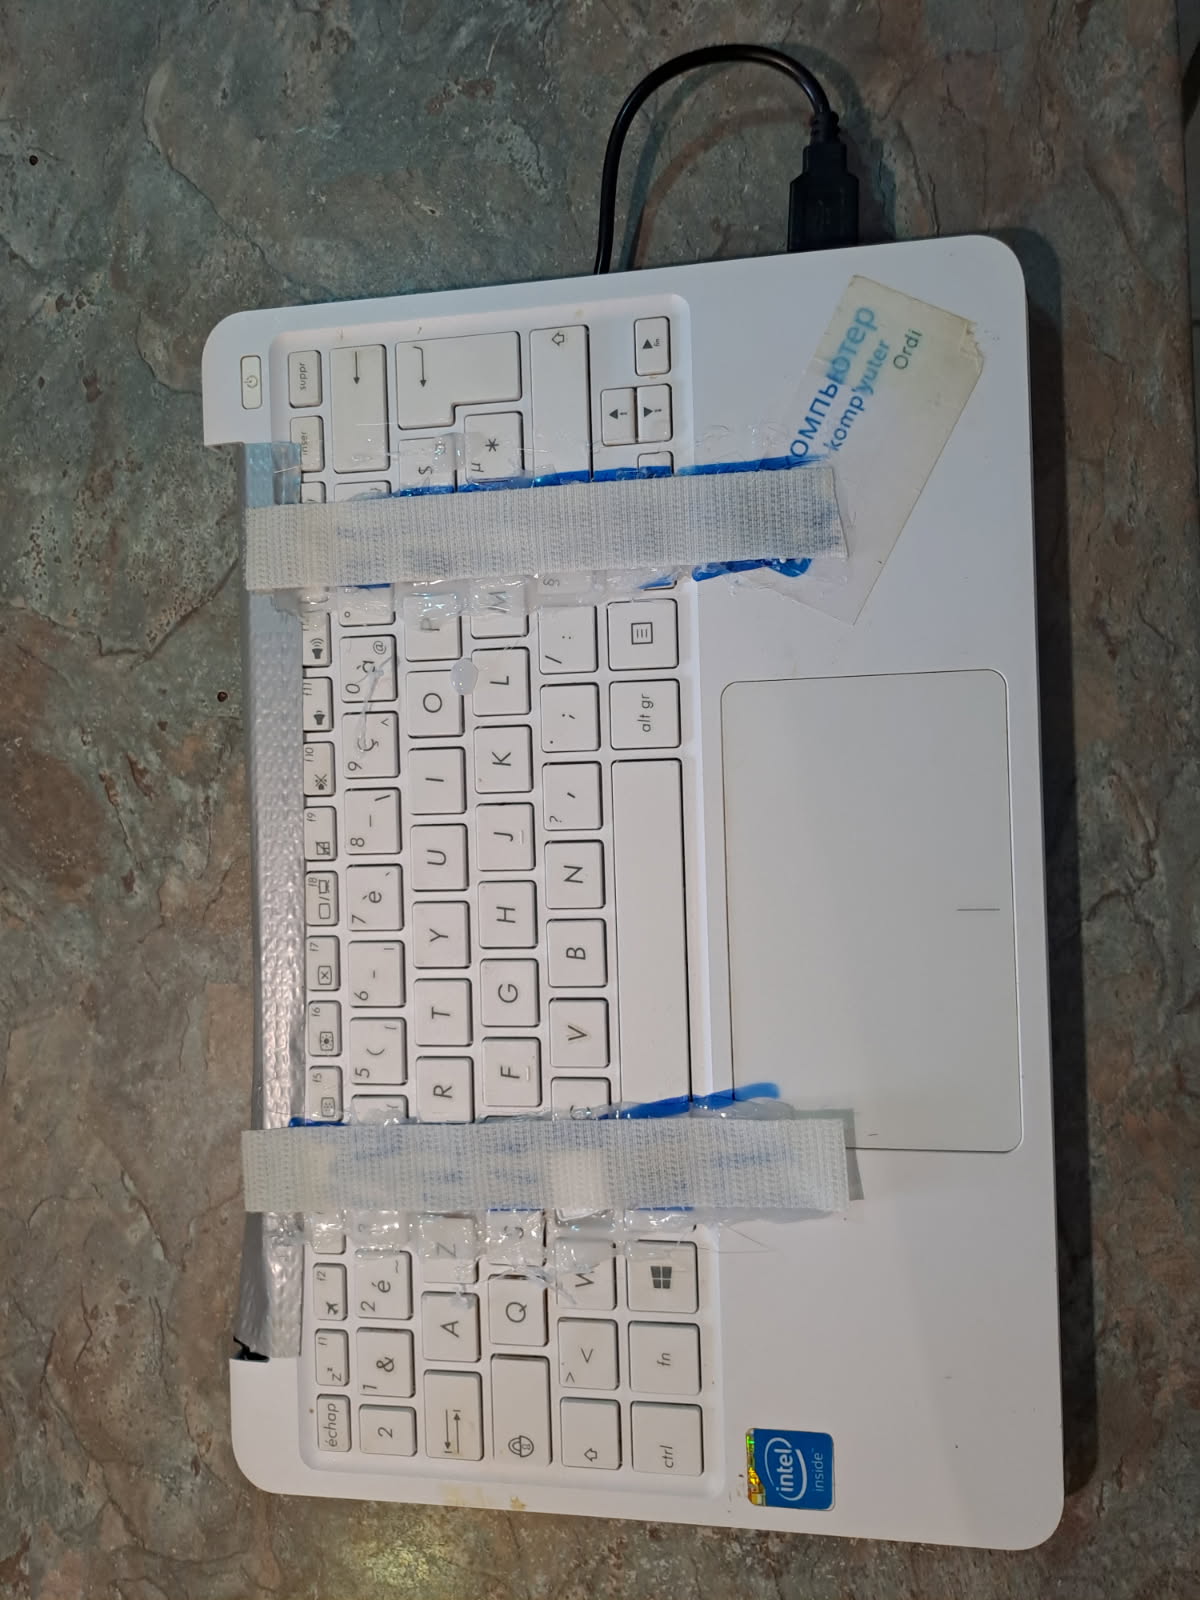
The computer is then folded to look like a Tablet.
Step 3: Necessary Softwares
This is the part where I am the most capable in, and the part where I really helped.
We started to scoure the World Wide Web to find something to be a good infotainment system.
AGL: Automotive Grade Linux.
The first thing which came up in my research was Automotive Grade Linux (AGL). This is a bunch of softwares which build a custom kernel and one can use the library to create an interface.
To test it, I compiled the “sample”. And launched it in QEMU.
It was both cool and underwhelming. The base interface made it really clear that using this library to construct a fully custom interface was definitely not a one-day thing. More like a months long adventure in multiple programming language from C to Python and promised a lot of recompiling kernels.
Which even with my decent laptop, would be long, very long.
So even if it looked good I decided to give up on it.
Source: Automative Grade Linux Documentation
Android Auto.
While my dad was thinking and still searching on the web I decided to search for something very particular.
Surely, someone, somewhere, would have managed to run Android Auto on a good old x86_64 computer right?
It turns out that yes someone did. And that someone, is Google itself.
So the last link open to the “Test” page. It was originally made to test Android Auto applications in the development/integration phase.
But it turns out you can just connect it to a phone and using it like regular old android auto. It works just like the real thing. Just need a couple adb commands as well as a manipulation on the phone.
Get the Android Auto Desktop Head Unit.
There is only one way to get the Android Auto Desktop Head Unit, you need to download the whole Android SDK, through Android Studio. And then you need to pick to download the Desktop Head Unit (DHU).
Once you do that, you get the DHU binary and one shared library in the following path:
$SDK_LOCATION/extras/google/auto/
You need both the
desktop_head_unit
Binary, as well as the
libusb.so
Shared library.
Run and connect the DHU to a Phone
You need to prepare the phone you’re connecting to.
- First, you need to activate the Android’s Developer Settings on your phone.
- Then, you need to install Android Auto if it’s not already installed.
- Finally, you need to activate the Android Auto’s Developer Settings on the app.
If you follow all the steps from the Google Developer page you will have everything you need to start the DHU.
Connect your phone via USB and just run
./desktop_head_unit --usb
And… it didn’t work for us. We tried multiple phones but it didn’t work.
We needed to follow the rest of the page.
- You need to start the Head Unit Server on your phone
- And you need to run a few commands on the computer host.
adb forward tcp:5277 tcp:5277
./desktop_head_unit
Then you connect your phone on USB to the Computer.
And ~~ Voilà ~~
It works! You have a fully functional Android Auto experience on a laptop.
Extras
Technically you could stop there. But it wouldn’t work very well.
We performed a few more steps in order to improve the experience.
- First, we modified the authentificator to auto-log.
- Then, we modified the Xorg start script to automatically forward the ports, and launch the DHU.
- Finally, we made a MACRO on my dad’s phone, to automatically start the Head Unit Server
Enjoy
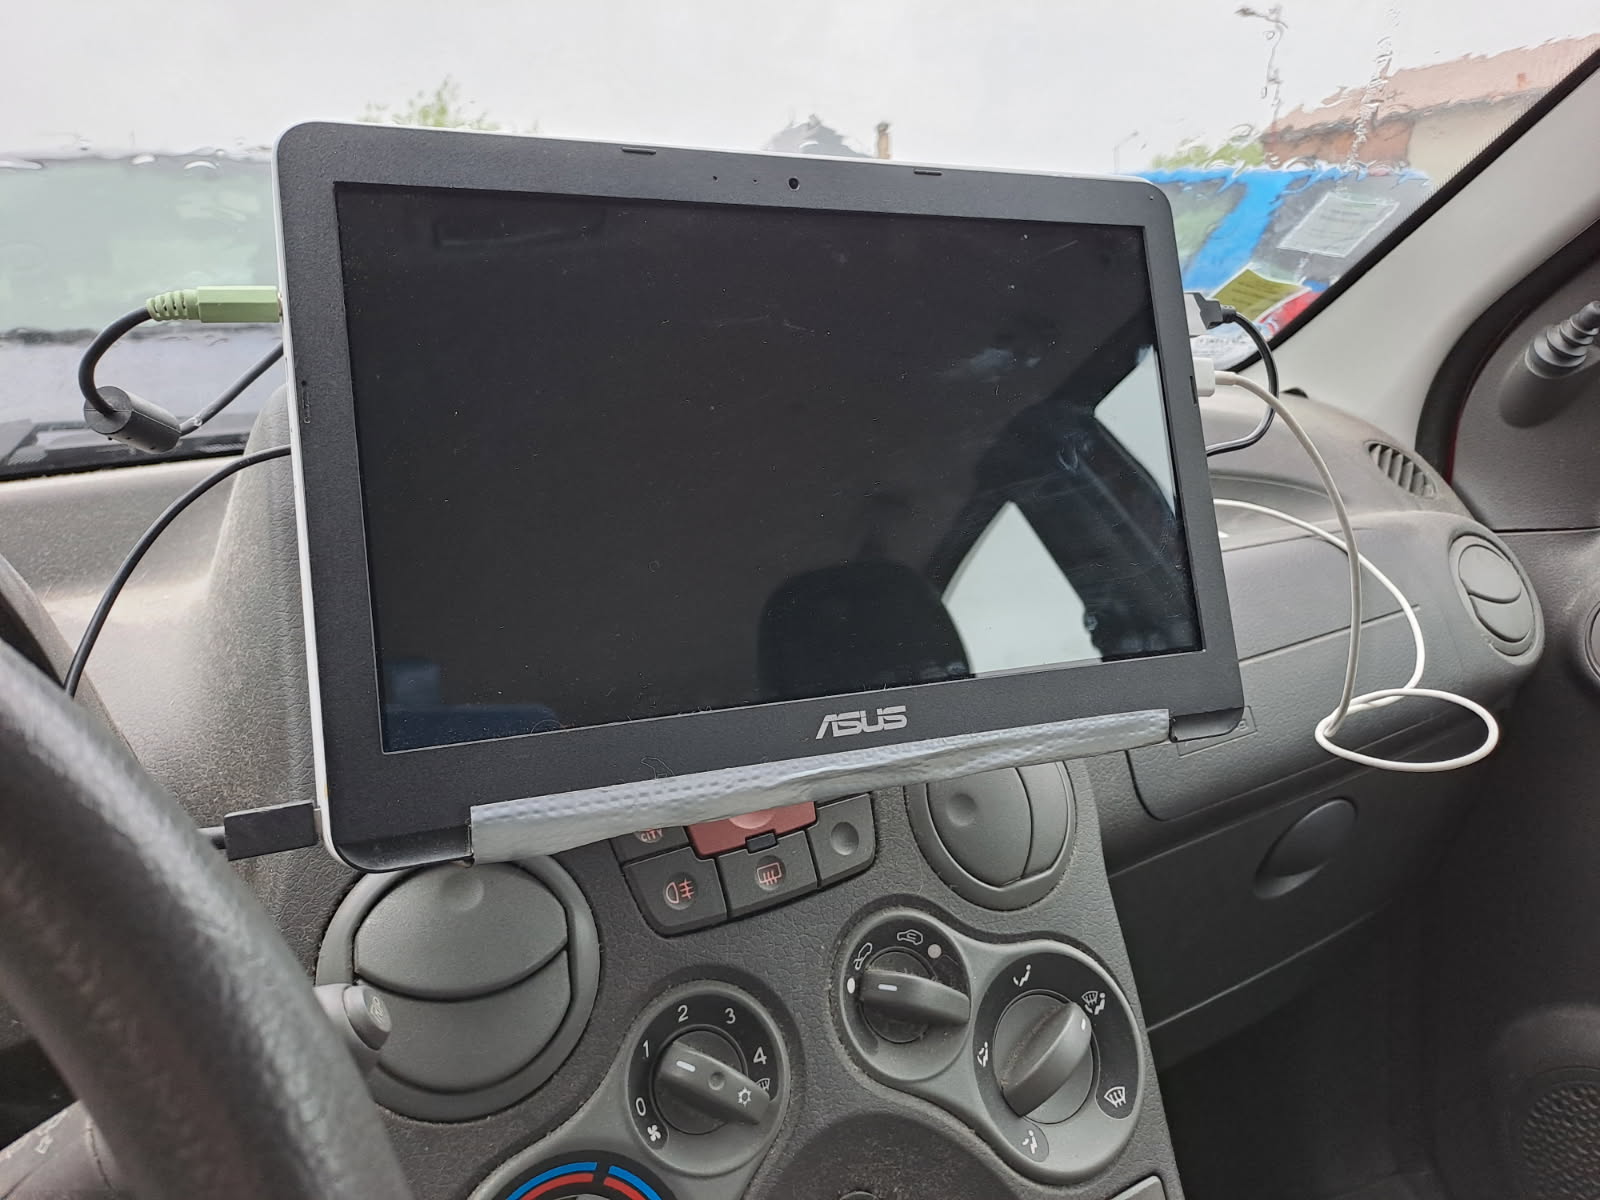
End of the build
The build at the end of the steps, the keyboard is folded behind the screen.
Installation
This is what it looks installed inside of our Panda.
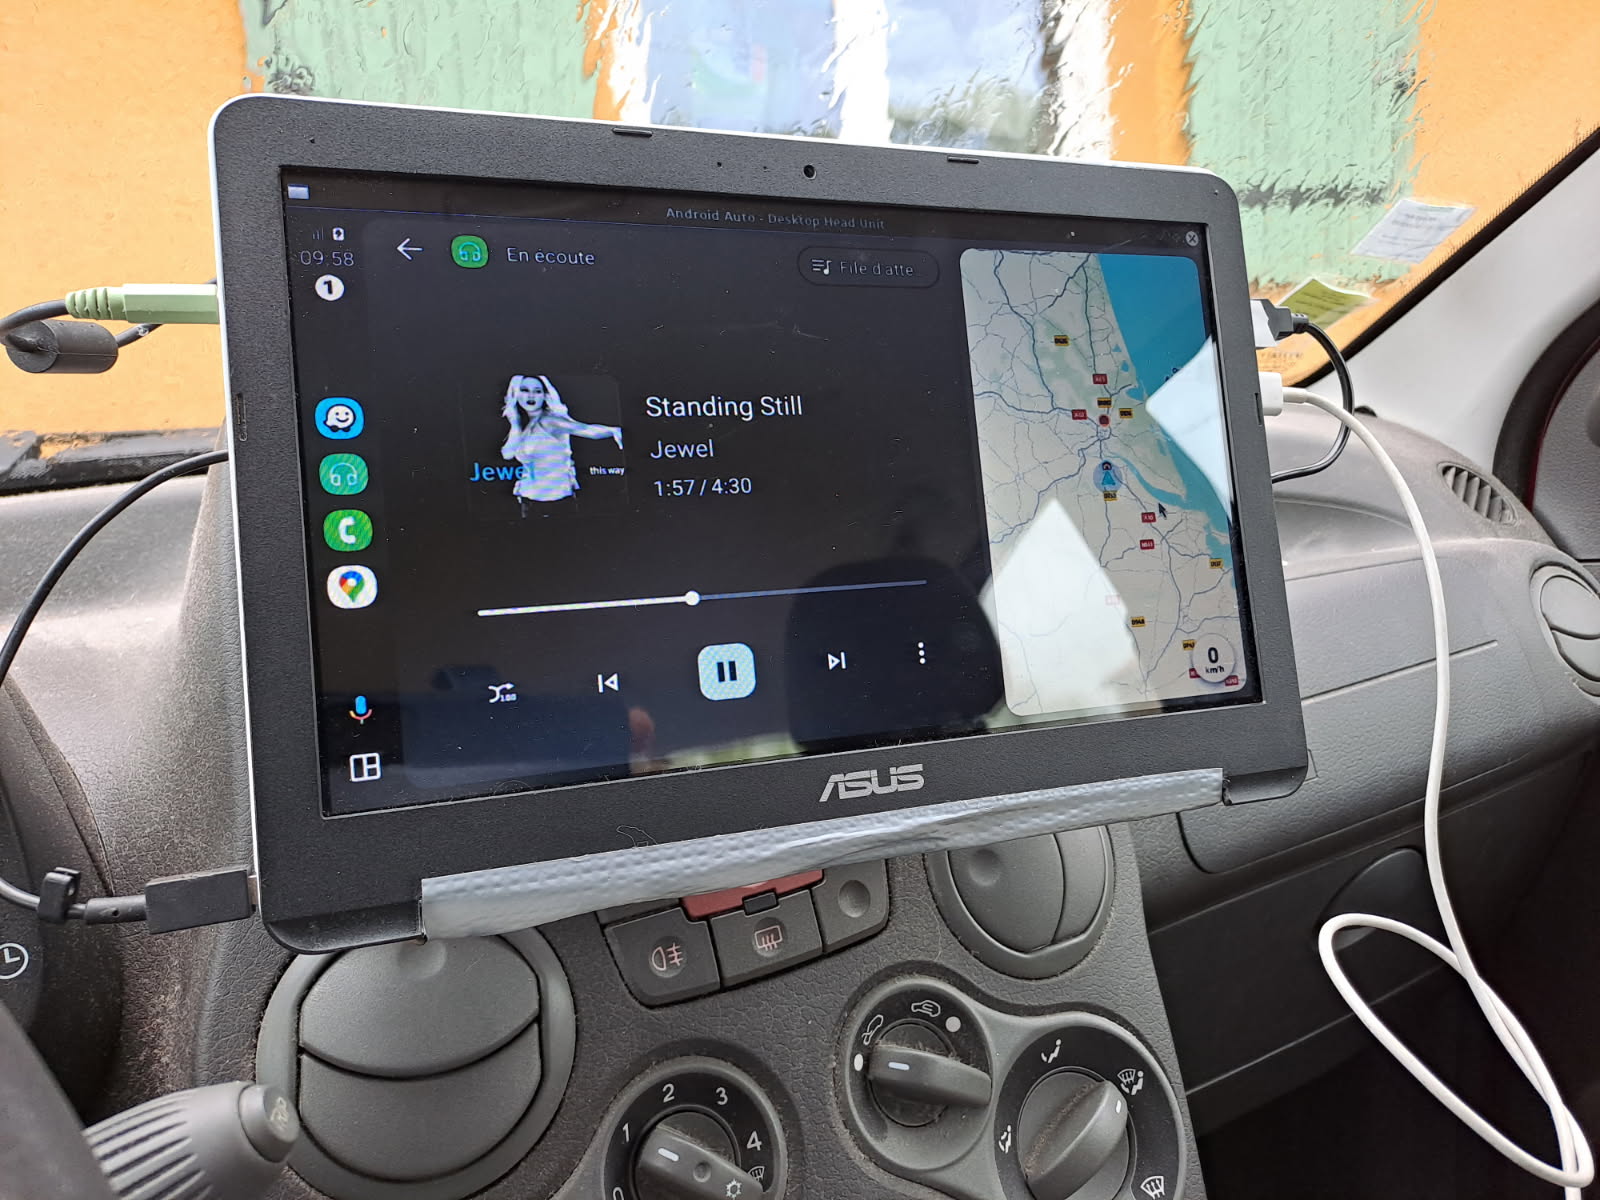
It looks like that installed and online aboard the vehicle, ain’t it cute?